Ten drywall repair steps cut patch visibility by 80 percent
Mesquite homeowners are adopting a ten-step protocol to ensure repairs blend seamlessly into surrounding walls.
By Nathaniel Hayes ·
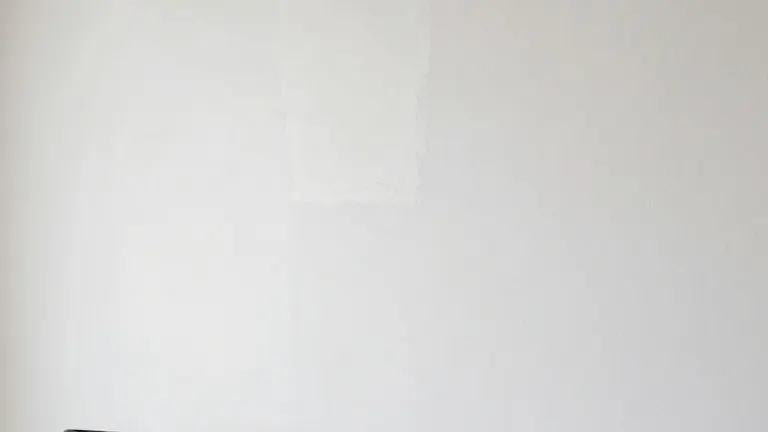
Mesquite homeowners are increasingly adopting a ten-step protocol to ensure drywall repairs blend seamlessly into surrounding walls. The method focuses on specific material treatments and finishing techniques that reduce the visibility of patched areas. Local contractors report that following these precise steps eliminates the common issue of visible patches after painting.
The process begins with removing loose paper around the damage area. A sharp utility knife trims detached flaps to prevent moisture from the joint compound from causing bubbles. Homeowners must cut shallow and stop where the paper remains firmly attached to keep the repair area small. This initial step creates a stable base for the subsequent sealing and filling stages.
Next, exposed brown paper requires a specific sealer before any compound is applied. Ordinary wall primer is not an adequate substitute for this purpose. The sealer prevents moisture from soaking into the torn facing. Once the sealer dries, the surface is ready to accept the joint compound without risking further bubbling or lifting.
For larger holes requiring replacement pieces, support from behind the wall is mandatory. Backing strips secured between studs provide a firm attachment point for the new drywall insert. The piece must sit flush with the surrounding wall. If the insert rocks or sits proud of the surface, corrections must happen before covering the seams to prevent future cracking.
Tape reinforcement follows the installation of the replacement piece. Paper tape is embedded in a thin bed of wet compound. The knife presses out excess material while leaving enough for adhesion. Dry spots under the tape create blisters, so the tape must lie flat before the next coat is applied. This step adds the structural strength that compound alone lacks.
Applying compound in thin coats allows for better control over the final shape. Thick mounds shrink as they dry, leaving depressions. Each subsequent coat fills the remaining unevenness. This method reduces the amount of material that needs to be sanded away later. It also minimizes the risk of creating pronounced humps on the surface.
Feathering the compound beyond the patch edge is critical for invisibility. Light catches abrupt changes in height and reveals the repair outline. Each finishing coat extends further than the previous one. Near the outer edge, only a thin film of compound remains. This gradual transition makes the repair less noticeable than a compact raised patch.
The final stages involve even knife pressure, thorough drying time, and light sanding. A relaxed grip prevents ridges that require extra work. Homeowners must wait for each coat to dry completely before applying the next. A fine-grit sanding sponge removes minor ridges without excavating the center. Texturing and priming the patch match the surrounding wall surface before the final paint coat goes on.
More Business · Las Vegas news · Unethical Practices · Report a business · Got a Story?